gokul/acoustic-guitar-tuner
This code defines a miniature circuit board featuring a microcontroller (ATTINY1616-MNR), audio and power components, tactile switch, various LEDs, and passive components arranged with specific footprints, connections, and mechanical markings for a mini acoustic guitar tuner.
- Version
- 1.0.8
- License
- unset
- Stars
- 2
MANUFACTURING.md
# Manufacturing Notes

## Board specification

- Finished outline: 40 mm × 70 mm maximum, custom miniature-guitar profile
- Layers: 2
- Finished thickness: 1.6 mm
- Copper: 1 oz recommended
- Surface finish: lead-free HASL or ENIG
- Solder mask: any color; silkscreen: white
- Battery: one CR2032 in the bottom-side holder

The fabrication archive is `dist/manufacturing/acoustic-guitar-tuner-gerbers.zip`. It contains copper, solder-mask, paste, silkscreen, edge-cut, plated-drill and non-plated-drill files, plus `bom.csv` and `pick_and_place.csv`.

## Assembly

1. Assemble the small SMD parts and ICs on the top side.
2. Reflow the bottom-port microphone `MK1` with its acoustic opening aligned to the PCB opening. Do not place tape, glue, foam, or an enclosure wall over it.
3. Assemble the CR2032 holder `BT1` on the bottom side.
4. Fit the slide switch and LED-test pushbutton.
5. Observe LED polarity and the holder's marked battery polarity.

## Programming and first-article test

1. Connect a 3.3 V-compatible UPDI programmer to `UPDI`, `VCC`, and `GND`.
2. Build `firmware/acoustic_tuner_attiny1616.ino` for ATtiny1616 using megaTinyCore with the 10 MHz internal oscillator, then flash it.
3. Insert a CR2032 and verify that the slide switch fully disconnects power.
4. Hold `LED TEST`; all nine LEDs should illuminate.
5. Play E2, A2, D3, G3, B3, and E4 one at a time near the microphone. Verify the selected string LED and the flat/tune/sharp indication against a reference tuner.
6. Confirm reliable tuning at the intended enclosure distance before ordering a production quantity.

## Released outputs

- Gerber/drill archive with BOM and pick-and-place CSV
- KiCad project archive
- Schematic PDF
- STEP assembly model
- Assembly SVG
- tscircuit source and ATtiny1616 firmware

The CAD files pass tscircuit type, netlist, schematic-placement, physical-placement, autorouting, and short-circuit checks. A fabricated first article still needs acoustic calibration and electrical bench testing before volume production.
Related Packages
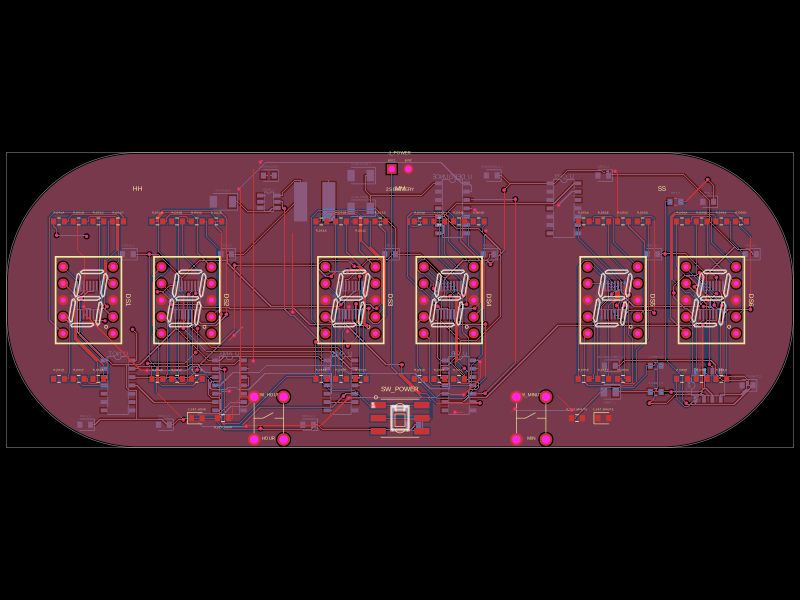 More from this authorgokul/new-clockThis code defines a PCB schematic with physical hardware components including switches, chips, resistors, capacitors, inductors, connectors, and visual annotations for a six-digit 12-hour digital clock circuit.
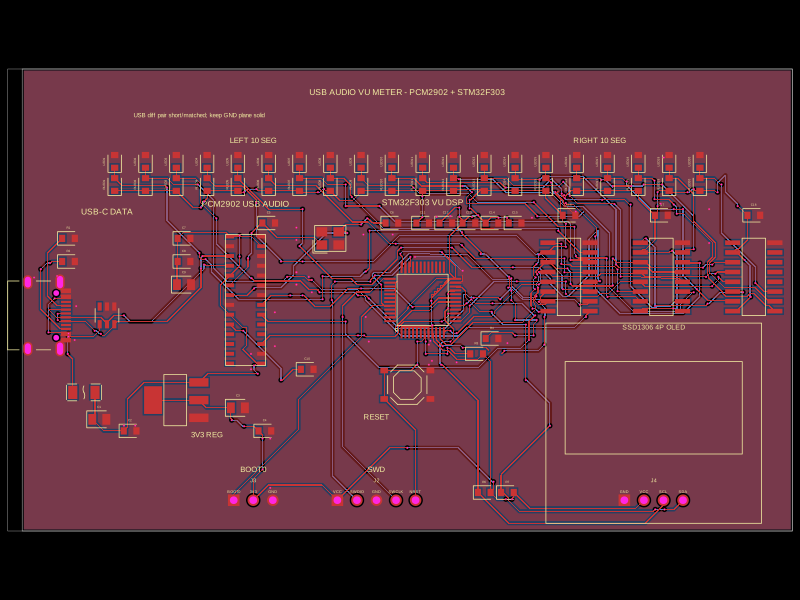 Similar packageimrishabh18/STM32F746G-DISCOThis code defines the hardware layout of a USB audio vu-meter circuit, including key components such as voltage regulators, microcontroller (STM32F303CCT6), audio codec (PCM2902), USB-Ethernet isolator, power regulation, reset switches, and associated passive components, with their physical footprints, pin configurations, and routing for PCB design.
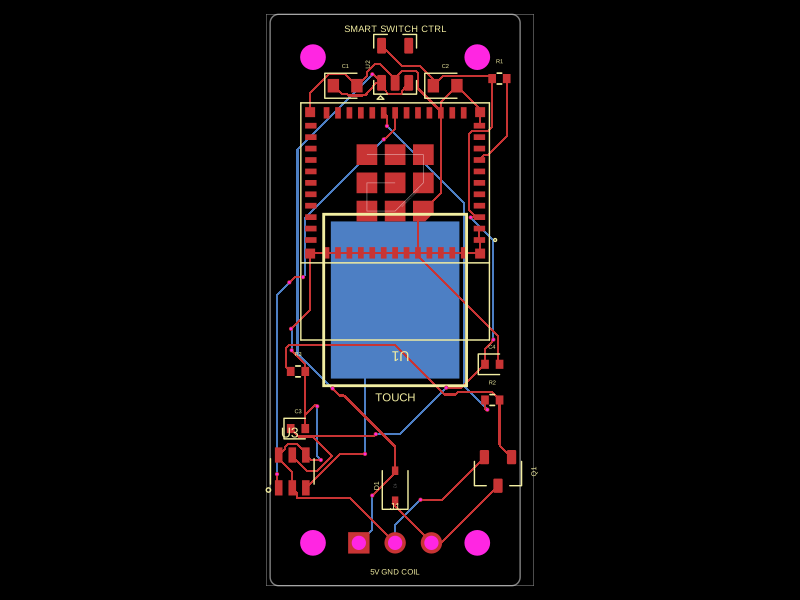 Discover something newhrithik18k/smart-switch-pcbThe AO3400A component models a SOT-23 N-channel MOSFET with labeled pins for Gate, Source, and Drain, including 3D CAD models and schematic symbols for electronic circuit design.